
There are five ways to log a meal, and you can combine them. Take a photo of your dinner, for example, then scan the barcode on the drink you had with it.
Take a photo
- Tap +, then the camera icon on the Meal row. (Tapping Meal, then Photo works too.)
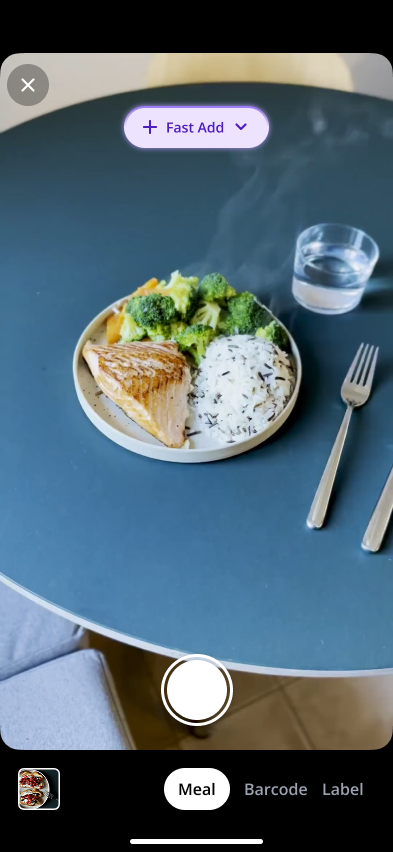
- Hold your phone right above the plate, with the whole plate and a little of the table in view, and tap the round shutter button.
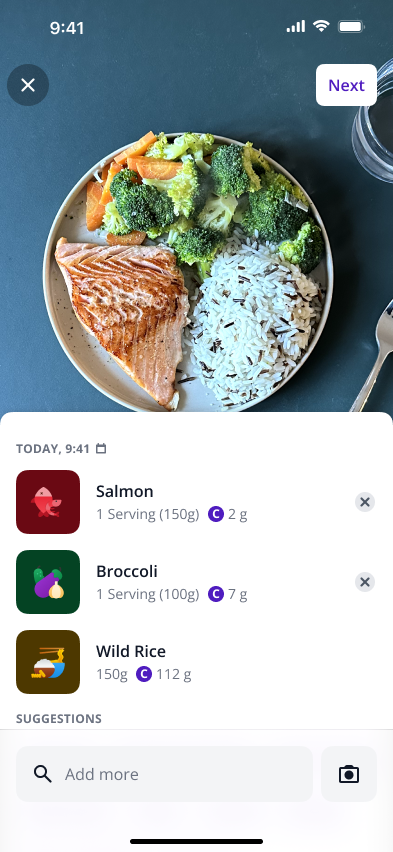
- Check what SNAQ found. Tap a food to change its amount, tap the small x to remove anything that isn’t there, and use the Add more search at the bottom for anything it missed.
- Tap Next at the top right, then Done. SNAQ names the meal for you.
Tips for a better photo
Put the food on a plate and the plate on a table. Hold the phone flat, about a foot (30 cm) above the plate, and move napkins and silverware out of the shot before you take it.
Smart Estimate and Fast Add
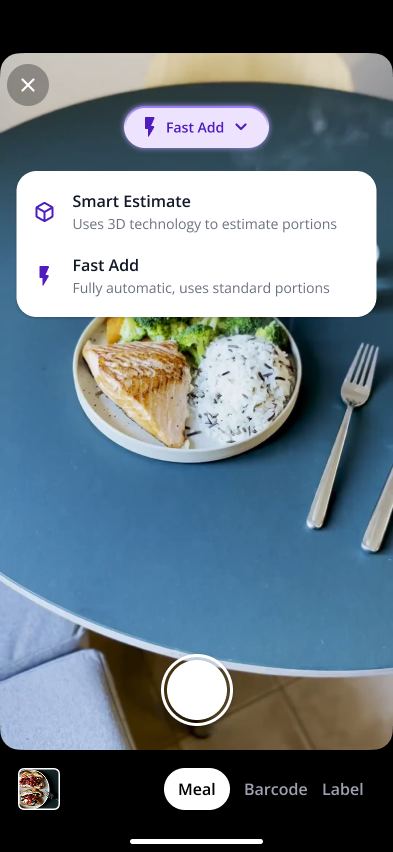
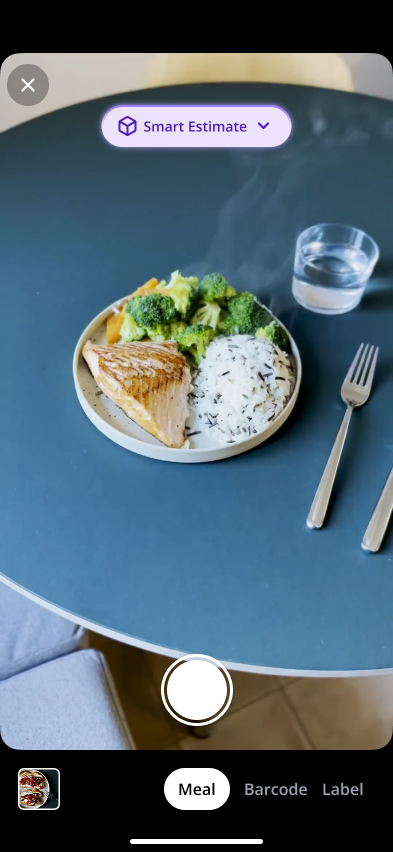
On an iPhone Pro or Pro Max from the iPhone 12 Pro onward, tap the pill at the top of the camera screen to pick a mode. Smart Estimate uses the phone’s 3D (LiDAR) camera to estimate how much of each food is on the plate. Fast Add is fully automatic and uses standard portion sizes.
Every other phone uses standard portion sizes. That’s fine for an average serving, but a big dinner or a half portion will be off, so check the amounts before you save.
Smart Estimate can fall back to standard portions too. It usually happens when the phone is too close or too far away, when it can’t find the table, or when the weight it comes up with doesn’t make sense. The fix is the same: adjust the amounts before saving.
Use a photo from your camera roll
On the camera screen, tap the photo library icon at the bottom left. Photos from your library always use standard portion sizes.
Search for a food
- Tap +, then Meal.
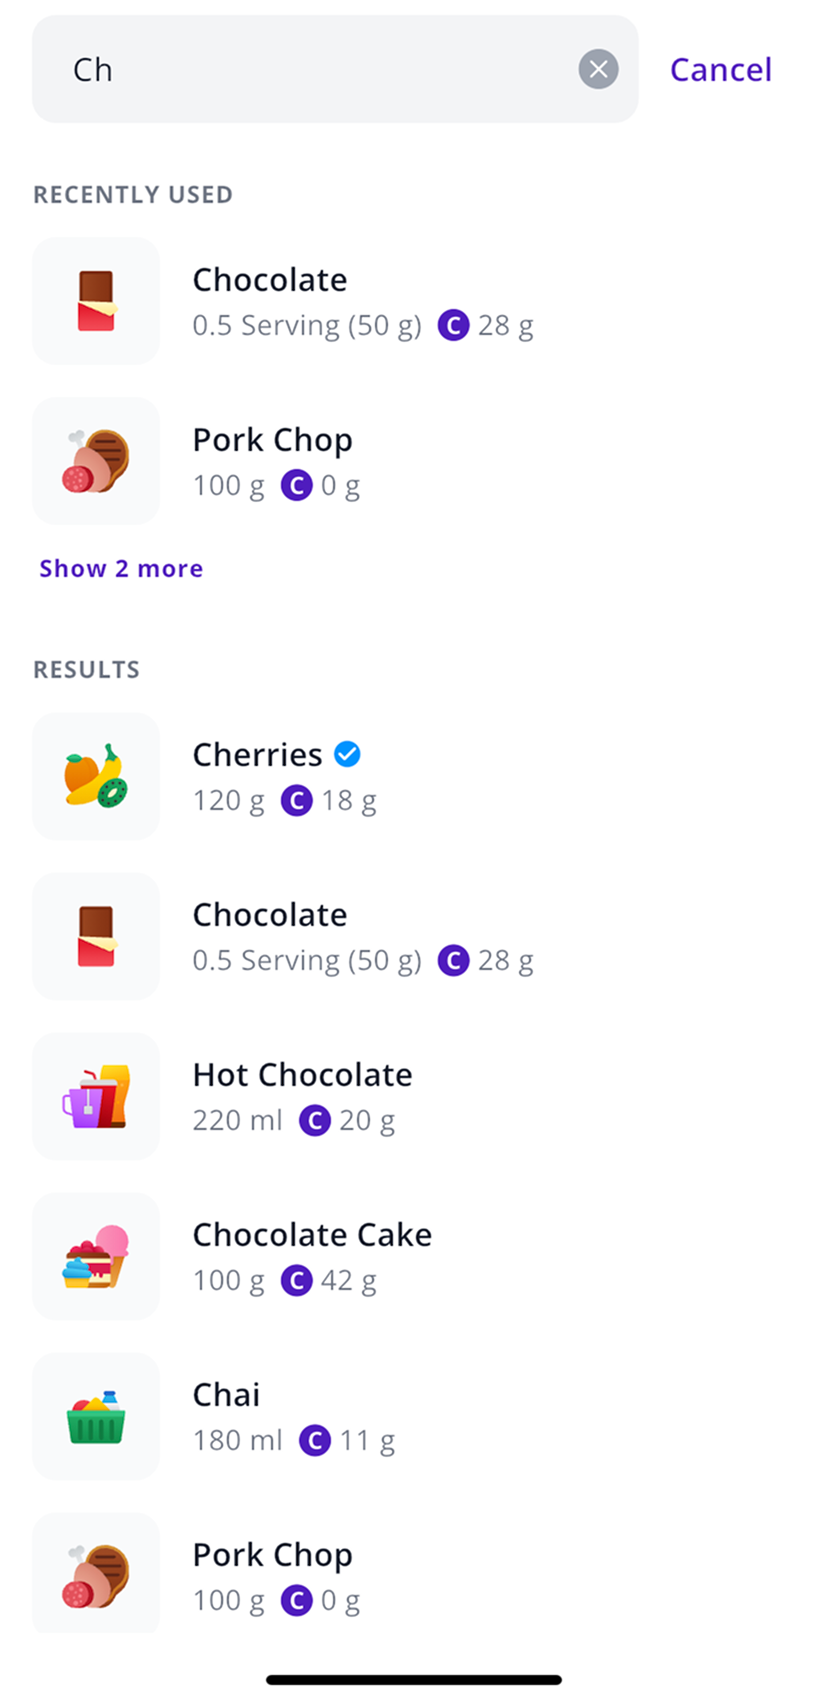
- Start typing in Food, meal or brand. Results show up after two letters.
- Tap a result, set the amount and tap Add.
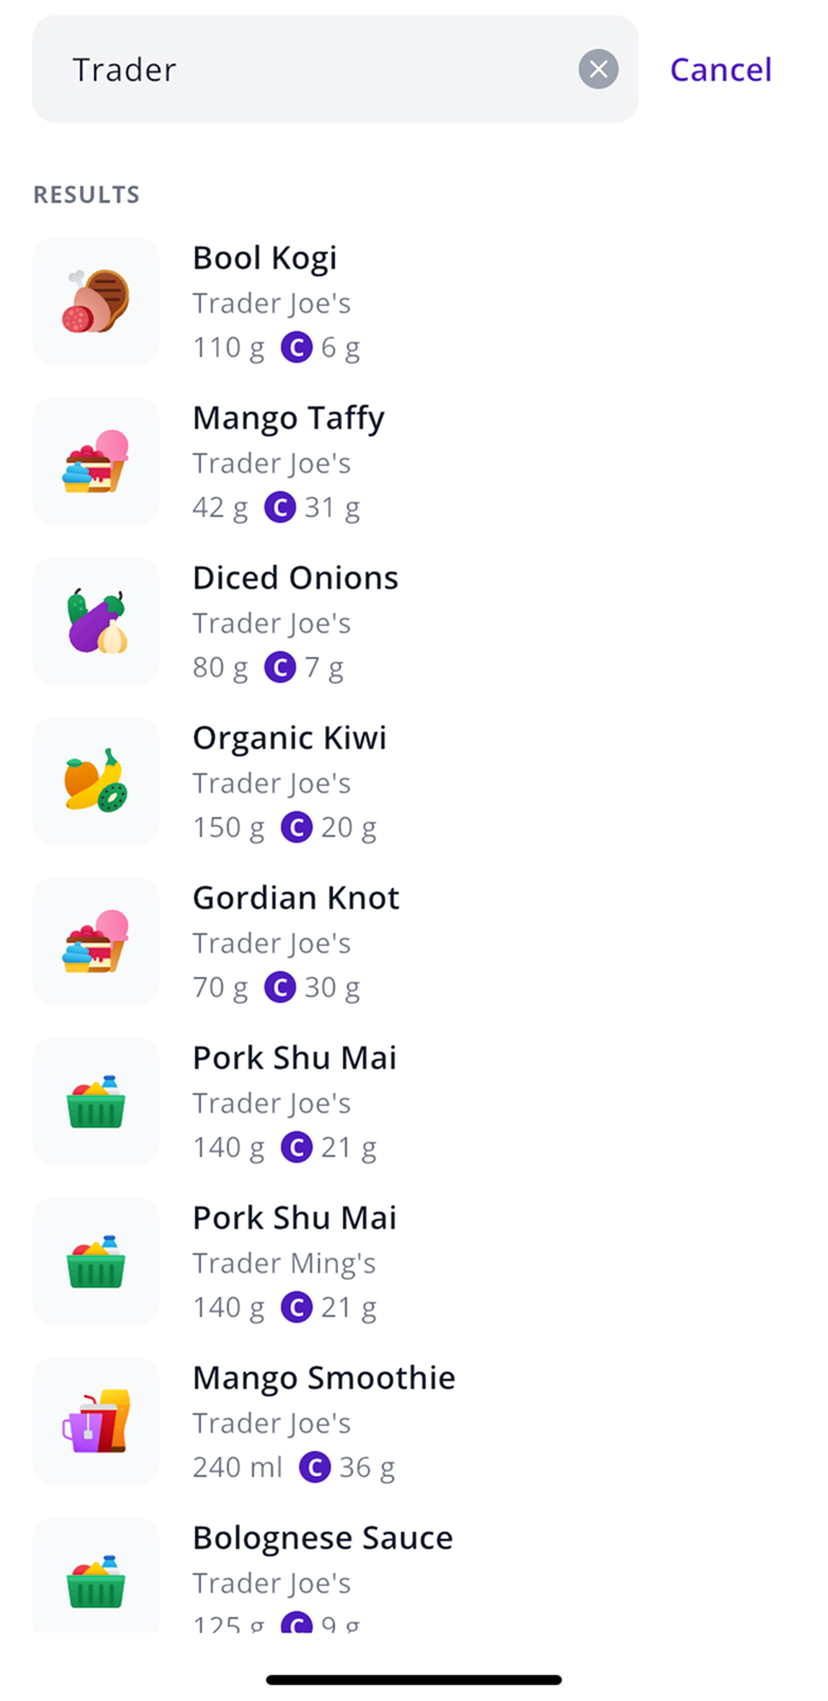
Foods you’ve logged recently come up first. Brand-name products are mixed into the same results, with the brand under the food name.
If nothing matches, check the spelling or try a broader word. For a mixed dish, add the main ingredient and then the rest one at a time. You can also create your own food.
Describe your meal
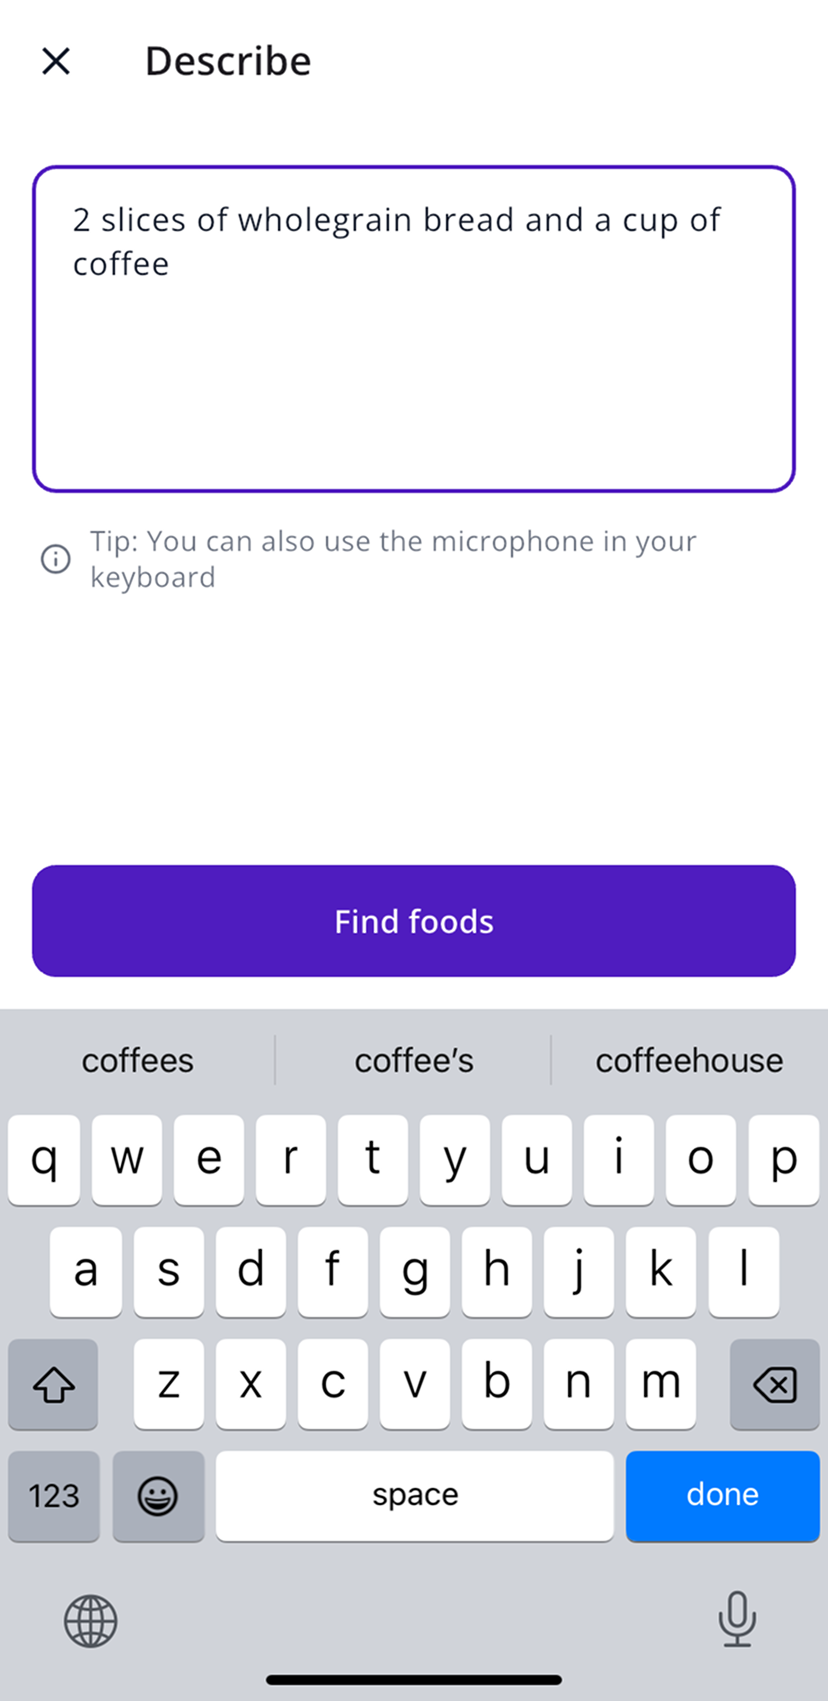
- Tap +, then Meal, then Describe.
- Type what you ate the way you’d say it, like “2 slices of wholegrain bread and a cup of coffee.”
- Tap Find foods, then check the ingredients SNAQ pulls out.
If you’d rather talk than type, use the microphone key on your keyboard.
Scan a barcode
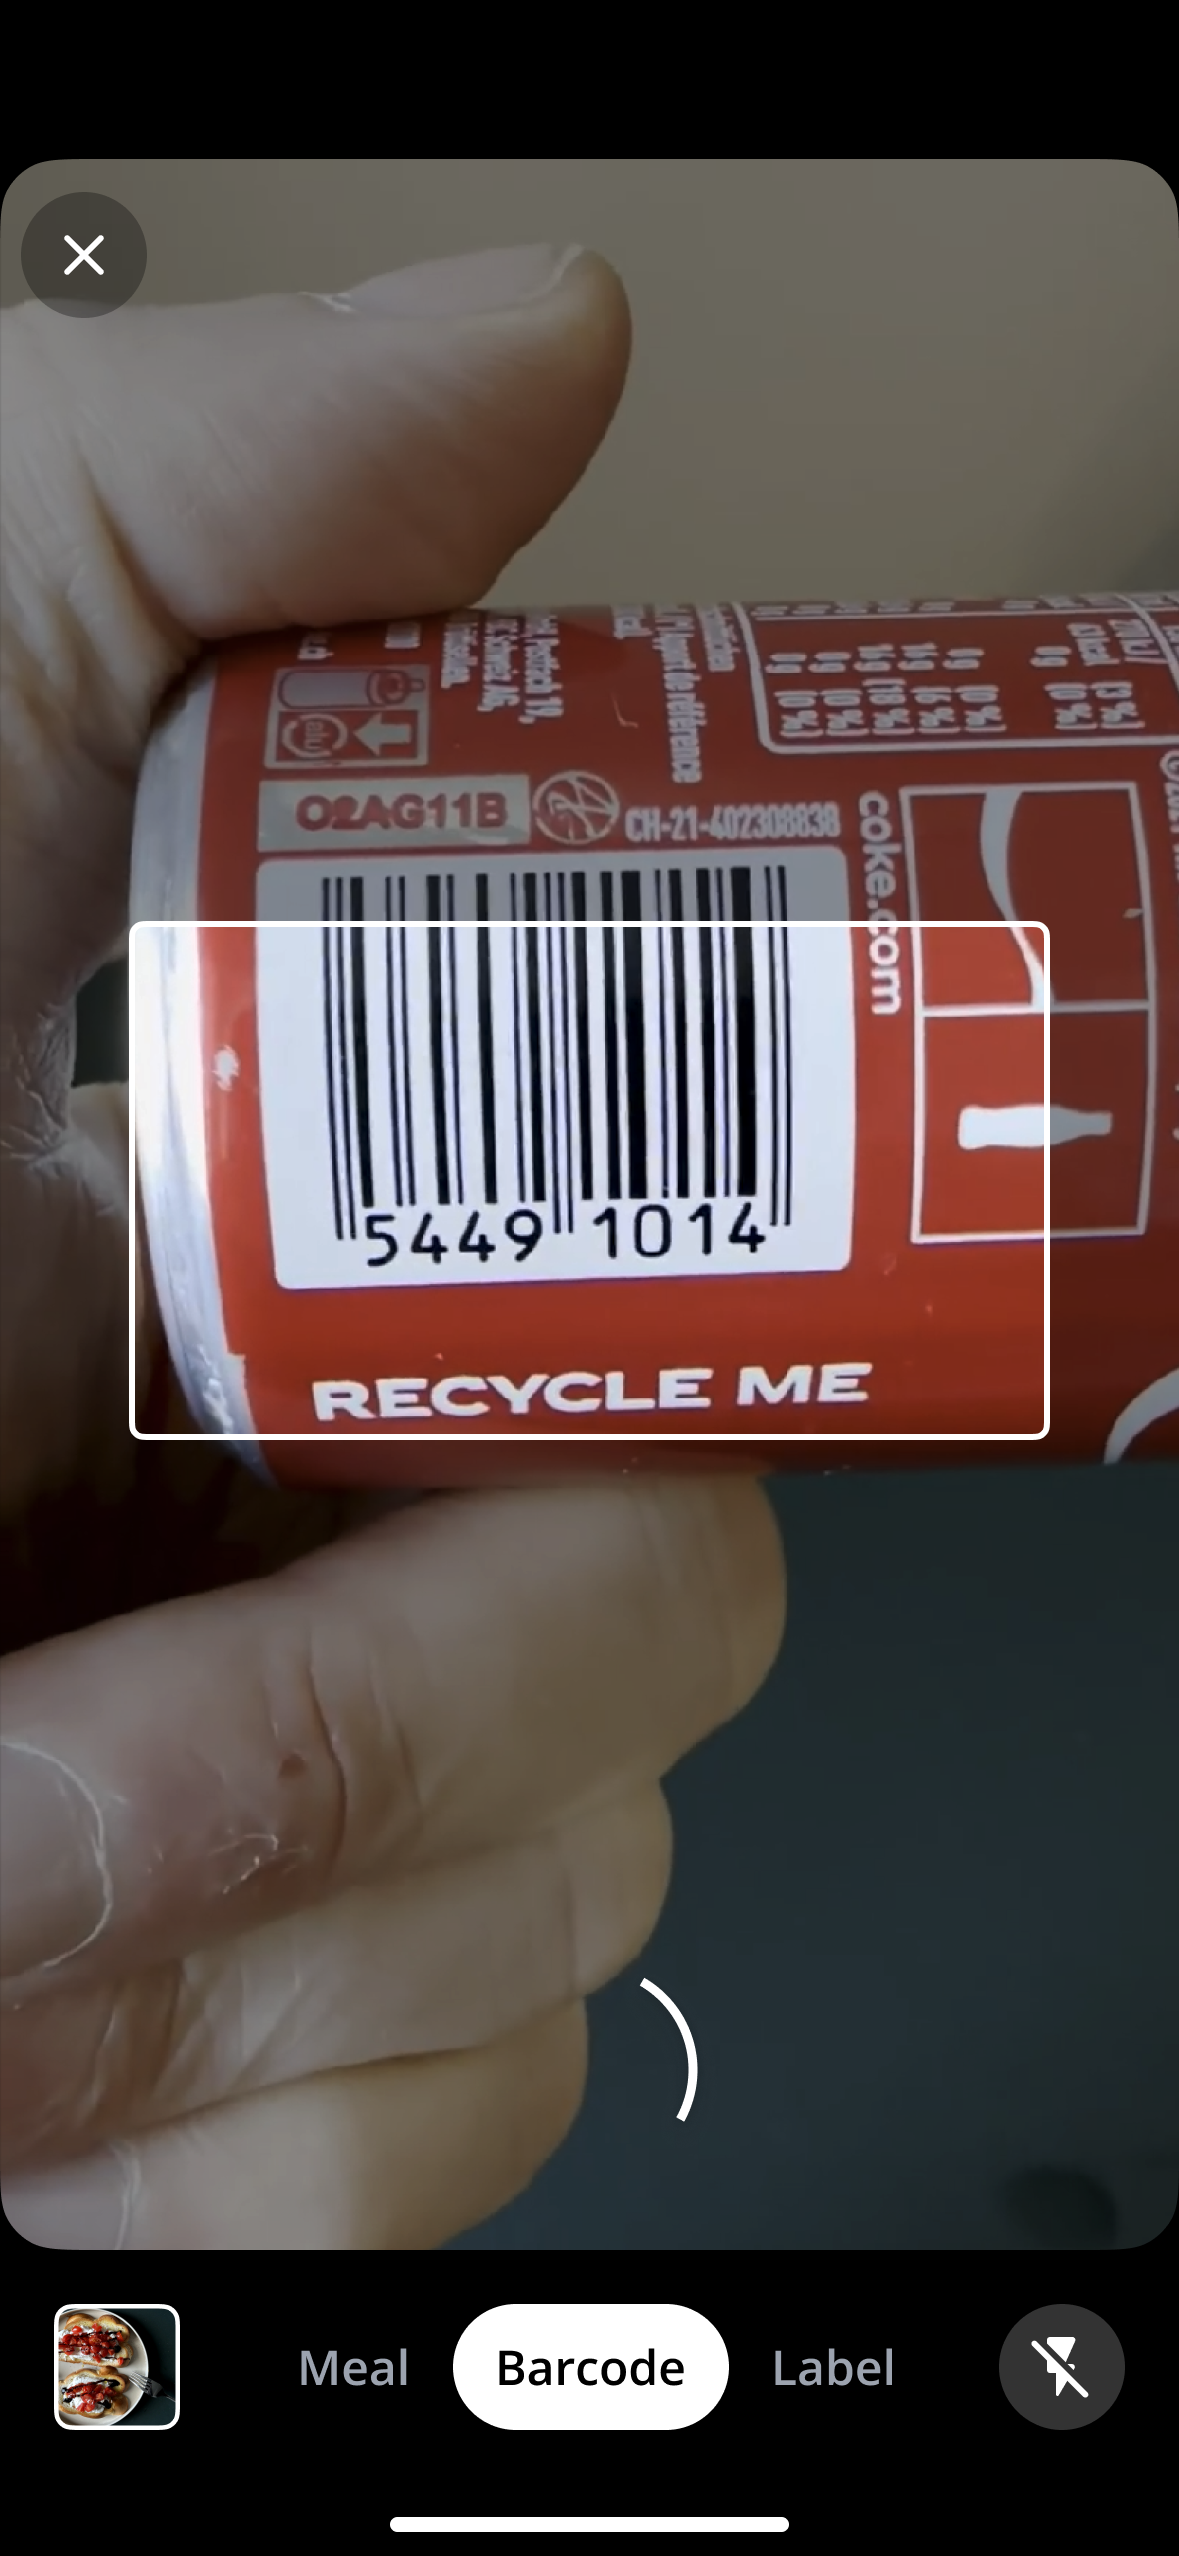
- Tap +, then the barcode icon on the Meal row (or Meal, then Barcode).
- Line the barcode up inside the frame. It scans on its own.
- Set the amount and tap Add.
The switch at the bottom of the camera moves between Meal, Barcode and Label. If SNAQ doesn’t recognize the product, tap Scan label and photograph the nutrition facts instead.
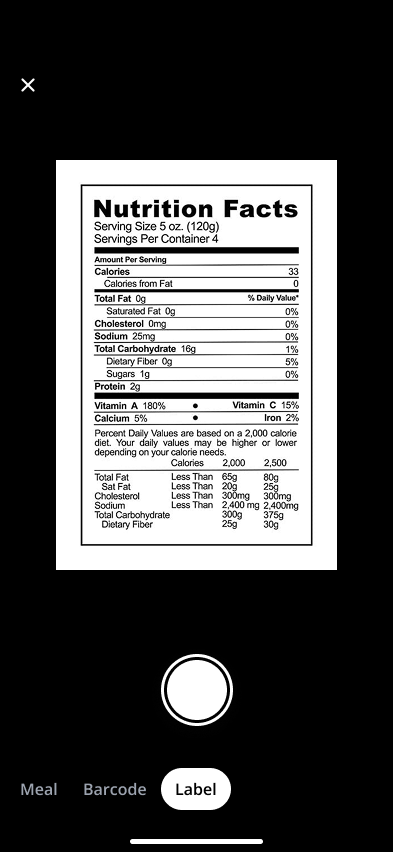
Scan a nutrition label
This is for packaged foods that aren’t in the database.
- Tap +, then the camera icon on the Meal row.
- Switch to Label at the bottom of the screen.
- Fit the whole nutrition facts panel inside the frame and tap the shutter button.
- SNAQ fills in the values from the label. Give the food a name, check the numbers and tap Save food item.
It’s saved as one of your custom foods, so it’ll come up in search next time.
Log a meal after the fact
Log it like any other meal, then change the time. If you ate something similar earlier in the week, copying that meal is usually quicker.
Shortcuts
- Widgets: More, then Widgets, shows what’s available and how to add one to your home screen.
- App icon: long-press the SNAQ icon to jump straight to photo, barcode, describe or search.
Steps last checked against the app in September 2026.
Still stuck?
Email us at support@snaq.io and tell us what you've tried so far. We usually reply within one business day.