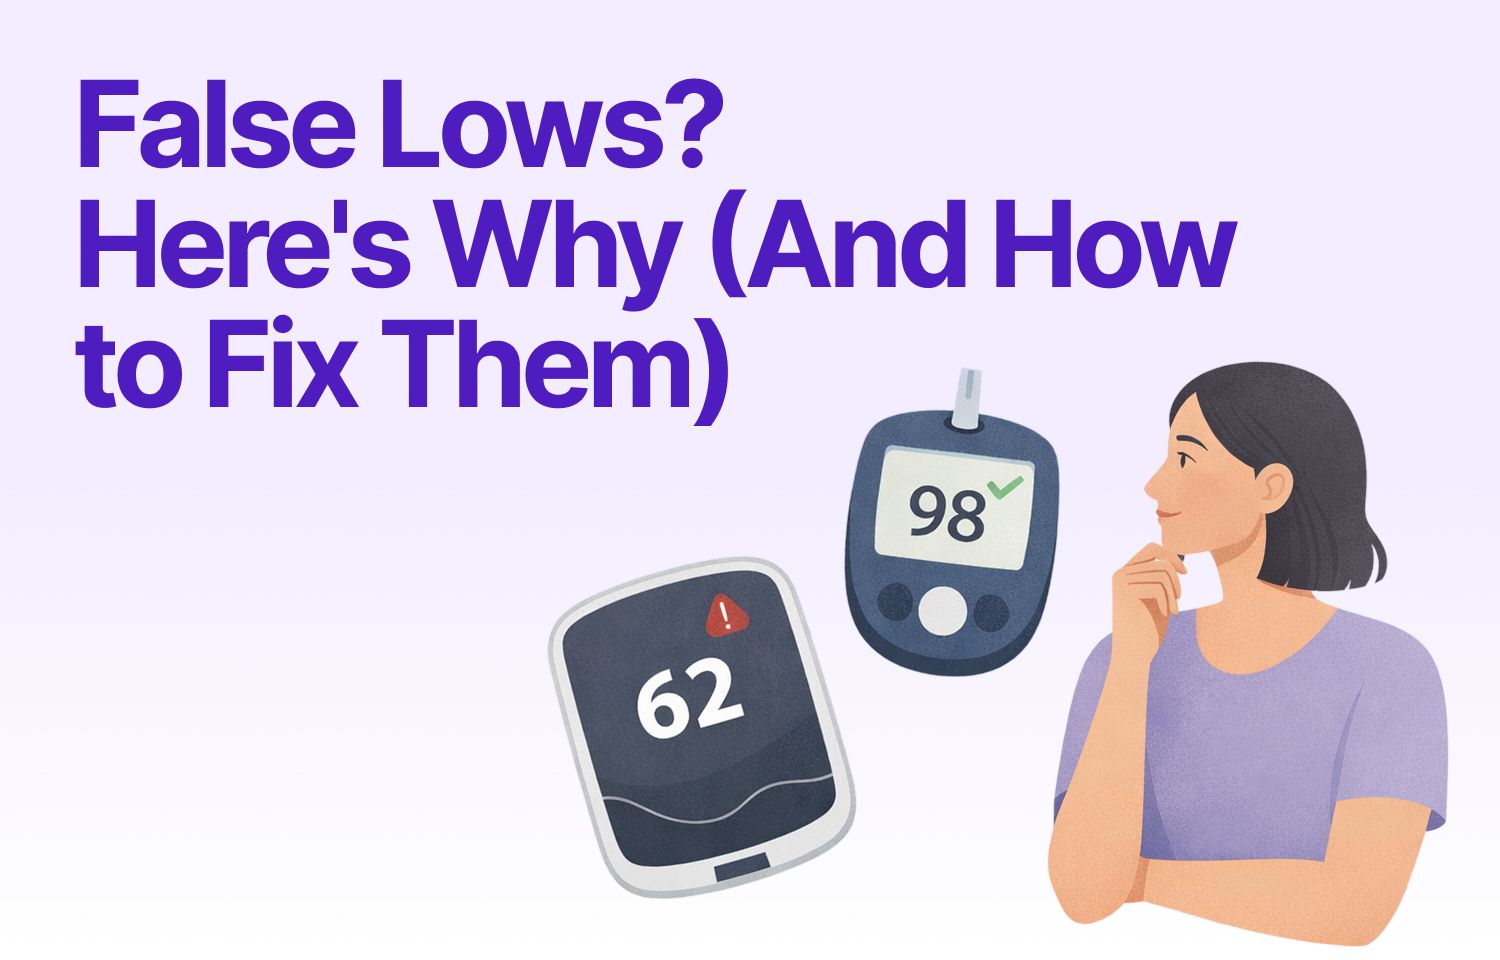
You wake up to a low glucose alarm. Your CGM reads 62 mg/dL. But you feel fine. You double-check with a fingerstick and it's 98 mg/dL.
This happens more often than you'd think. False lows are frustrating because they interrupt your sleep, create alarm fatigue, and erode trust in your CGM data. The good news? Most false lows have fixable causes, from sensor placement to keeping your sensor secure to calibration timing.
This guide walks you through the most common reasons your CGM might report numbers lower than reality, and what you can do about it.
What Counts as a False Low?
A false low happens when your CGM displays a glucose reading significantly below your actual blood glucose level, typically 20 mg/dL or more when you confirm with a fingerstick test.
CGMs measure glucose in the interstitial fluid (the fluid between your cells), not directly in your blood. That's already a translation step. When sensor placement, calibration, or physical factors interfere with that measurement, the reading can drift low.
If you see a pattern of false lows that look like sudden V-shaped drops, you might be experiencing compression lows, which have their own specific signature.
Why CGMs Report False Lows
Sensor Placement Issues
Where you place your sensor matters more than most people realize. If the sensor isn't in an area with good interstitial fluid flow, or if it's too close to scar tissue, muscle, or a previous insertion site, the readings can become unreliable.
Manufacturer guidelines recommend specific body areas for a reason. These zones tend to have consistent fluid dynamics and less movement interference. Straying outside those zones increases the chance of both false highs and false lows.
Rotating your sensor sites also helps. Using the same spot repeatedly can cause scar tissue buildup, which affects sensor performance over time.
Calibration Drift
Some CGM models require regular fingerstick calibrations. Others are factory-calibrated but can still drift over the wear period. If your CGM hasn't been calibrated recently (or was calibrated during an unstable glucose moment), the whole baseline can shift.
Calibrating when your glucose is stable, not rising or falling, gives the most accurate anchor point. Calibrating during a rapid change can pull all subsequent readings in the wrong direction.
Even factory-calibrated sensors can have variability between units. If you consistently see differences between your CGM and fingerstick (more than 15 to 20 mg/dL), it's worth discussing with your healthcare team or considering a sensor replacement.
Compression and Physical Pressure
This is one of the most common culprits. If you sleep on your sensor, lean against it, or wear tight clothing over it, you can compress the tissue around the sensor. That temporarily reduces interstitial fluid flow and causes a sharp drop in the CGM reading.
The signature pattern is a sudden V-shaped dip that resolves once pressure is removed. These are sometimes called "compression lows." They're false, but they trigger alarms and interrupt sleep.
The fix is straightforward: place your sensor where you're less likely to put pressure on it during daily activities.
Another cause of false readings is sensor movement. Active lifestyles, humidity, or simply wearing a sensor for 10 to 14 days can cause the factory adhesive to peel. When the sensor becomes loose, even microscopic movements of the filament can distort your readings and trigger false lows.
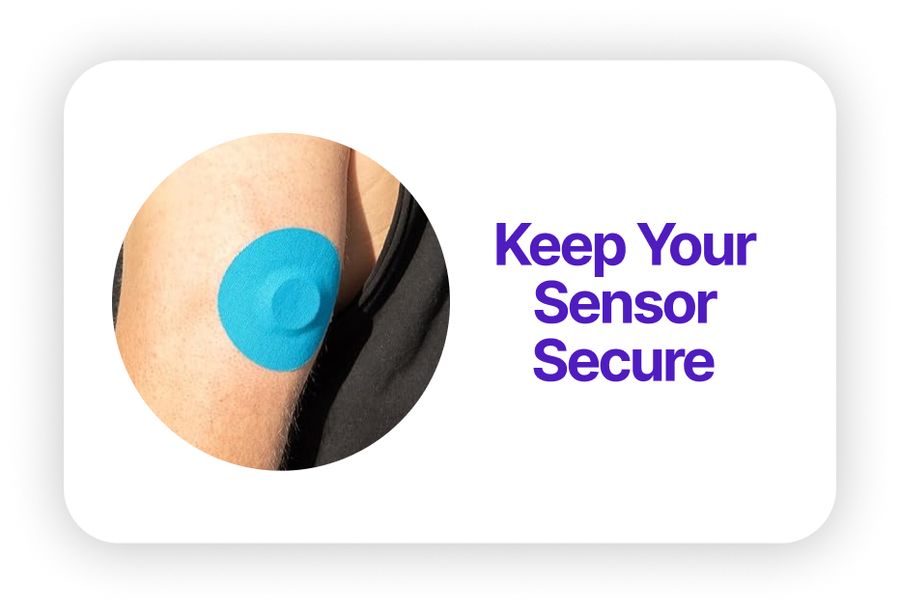
If you're dealing with adhesive failure (or want to prevent it entirely), adding an overpatch like Type Strong's CGM patches keeps the sensor locked down and stationary throughout its entire wear period. This is especially critical for athletes, swimmers, or anyone in humid environments where factory adhesive struggles.
Sensor Age and Warm-Up
Sensors often read less accurately in the first 12 to 24 hours after insertion, and again toward the end of their approved wear time. Early inaccuracy happens because the sensor is still settling into the tissue. Late inaccuracy happens because the sensor chemistry degrades or the insertion site becomes inflamed.
If you notice false lows clustered around Day 1 or Day 10, sensor age is the likely cause.
Dehydration and Interstitial Fluid Changes
Dehydration can alter the composition and flow of interstitial fluid, which may affect how the sensor reads glucose. While this isn't as well-studied as placement or calibration issues, anecdotal reports suggest that dehydration can contribute to erratic readings, including false lows.
What does "dehydrated enough to matter" look like? Think: dark urine, dry mouth, feeling thirsty. Staying hydrated won't solve every false low, but it's one variable you can control.
How to Troubleshoot False Low Readings
Now that you know what causes false lows, here's how to identify and fix them when they happen.
Start with a fingerstick confirmation. If the fingerstick is 20+ mg/dL higher than your CGM, you're dealing with a false low.
Check your sensor placement. Is it in a recommended zone? Is there any visible irritation, swelling, or signs of compression? Is the adhesive lifting at the edges?
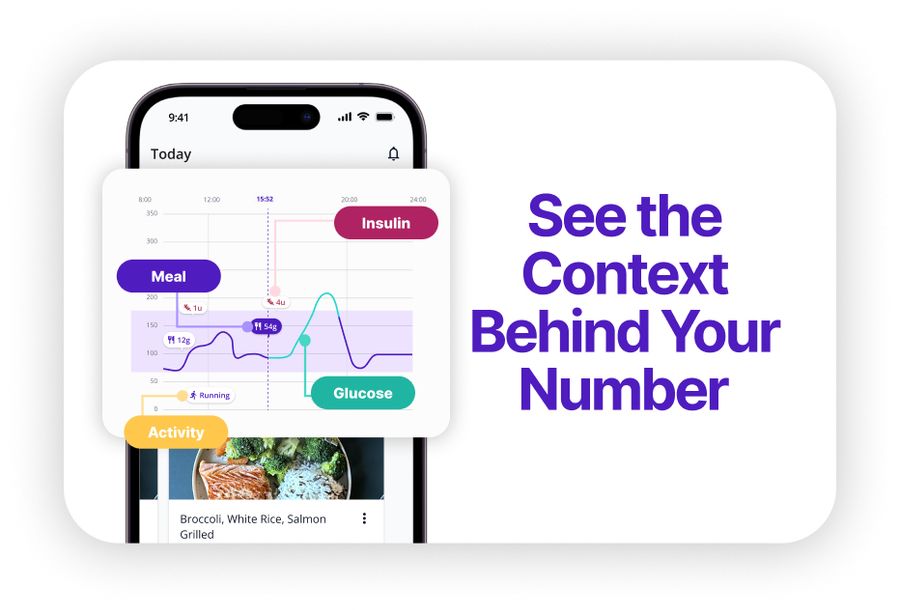
Look at the timing. Did this happen right after waking up, during exercise, or toward the end of the sensor's wear period? Patterns matter. If you're tracking with SNAQ, you can overlay your meals and activities on your glucose graph to see if false lows align with specific triggers like sleep position or workouts.
Consider calibration. If your CGM model requires calibration, when did you last calibrate? Was your glucose stable at the time?
If placement, timing, and calibration all look good but you're still seeing persistent false lows across multiple sensors, document the pattern and share it with your diabetes care team. It might point to a device issue or a need to switch CGM models.
For broader accuracy factors, including medications and temperature effects, check out our detailed guide. Some interference sources are less obvious than placement or calibration.
Improving Long-Term CGM Accuracy
Rotate your sensor sites consistently. Keep a mental or written log of where you've placed sensors recently, and avoid reusing the same spot within a few weeks.
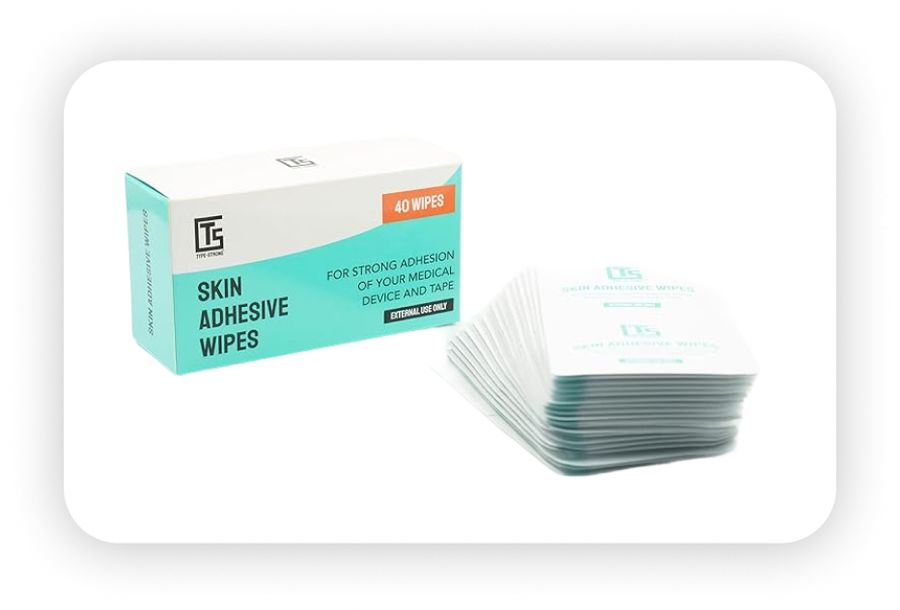
Prep your skin properly. Oils, sweat, and lotion can prevent sensors from bonding securely. Before applying a new sensor, clean the area with an alcohol wipe or a skin prep solution like Type Strong's adhesive wipes. A clean, slightly tacky surface helps the sensor stay flush against your skin from Day 1 and maximizes adhesive longevity.
Follow warm-up protocols. If your CGM model has a warm-up period, resist the urge to treat those early readings as gospel. Give it time to settle.
Maintain your devices and adhesion. Keep transmitters clean, charged, and within their expected lifespan. If you notice peeling edges mid-wear, add an overpatch immediately to restore stability. A failing transmitter or loose sensor can both cause erratic readings.
How SNAQ Helps You Spot CGM Patterns
When you see a sudden drop on your CGM, SNAQ overlays your meals and activities on your glucose graph so you can quickly check whether it lines up with a meal, workout, or time of day. If a false low happens overnight, you can compare that event to other nights and see if there's a recurring pattern tied to sensor placement or sleep position.
The AI Coach feature lets you ask questions like "Why does my CGM dip at 3 AM?" and get educational context based on your logged data. It won't diagnose the issue, but it can help you form better questions for your healthcare team. Download SNAQ here.
Key Takeaways
- Always confirm suspected false lows with a fingerstick test (20+ mg/dL difference indicates a false reading)
- Sensor compression, improper placement, and adhesive failure are the most common causes
- Secure adhesion from Day 1 prevents many false low triggers
- Document patterns and discuss recurring issues with your healthcare team